...the things in life that bring just this...


Tuesday, November 15, 2011

a (slightly) repurposed gift

it was my closest girl friend's birthday recently and for the past few months she has been constantly mentioning how much she wanted to get an old rotary phone for her girls to play with as a toy. so for one of her presents, i decided to set out and find one. fortunately for me, 7th ave is full of antique shops and not far away at all. so i did a little shopping and found this phone below:


 after doing a little cleaning and disinfecting, i googled how to remove the plastic finger-wheel so i could get rid of the random phone number and replace it with this super fun pinwheel fabric i had in my stash.


next, i thought to tie in the pinwheel on the finger-wheel, i would cover the cord in the fabric as well (there were a few slightly exposed wires and i didnt want the girls playing with those either). so i just sewed a 'tube,' turned it right-side out and fed the cord through it. to attach it to the phone, i used some tacky glue on both ends of the fabric.


and here's the finished product! (now i just need to make one for clémence)

Monday, November 14, 2011

get your wiggles out

after her bath and right before bed we have a 'get your wiggles out' time. it's one last moment of play which involves a few tickles, lots of rollovers, and tons of kisses. we turn off the lights and turn on this ladybug we have that projects stars onto the ceiling. clémence LOVES it (and of course so do we).


Saturday, November 12, 2011

Happy Nine Months Lovely!

this past month you have taught yourself to stand, eat with your fingers, and say ma ma...among soooo many other things. we love you more each day and are grateful for every waking (and sleeping) moment we get with you.

playing in the Under 3's room at the Children's Museum of Phoenix


Friday, November 11, 2011

unfortunate mishap

just want to say sorry for the lack of posts this past month...our computer caught a cold and is actually still in the process of being fixed. i have really missed blogging and have a lot stored up so hold tight.

Wednesday, October 19, 2011

talking while you're eating

clémence got out of her nap by her stubbornness outlasting ours. so we got up and decided to give her an early lunch (and eat ourselves) before attempting the nap again.

turned out that eating cheesy mashed potatoes resulted in talking while feeding herself (see video)--which then resulted in the pictures below! it was so fun to watch her and i just love these extra moments we get when she would have otherwise been sleeping. (we did, by the way, win the next match and she took a nice, long nap...after a bath of course!)


Monday, October 17, 2011

Friday, October 14, 2011

diy chevron curtains

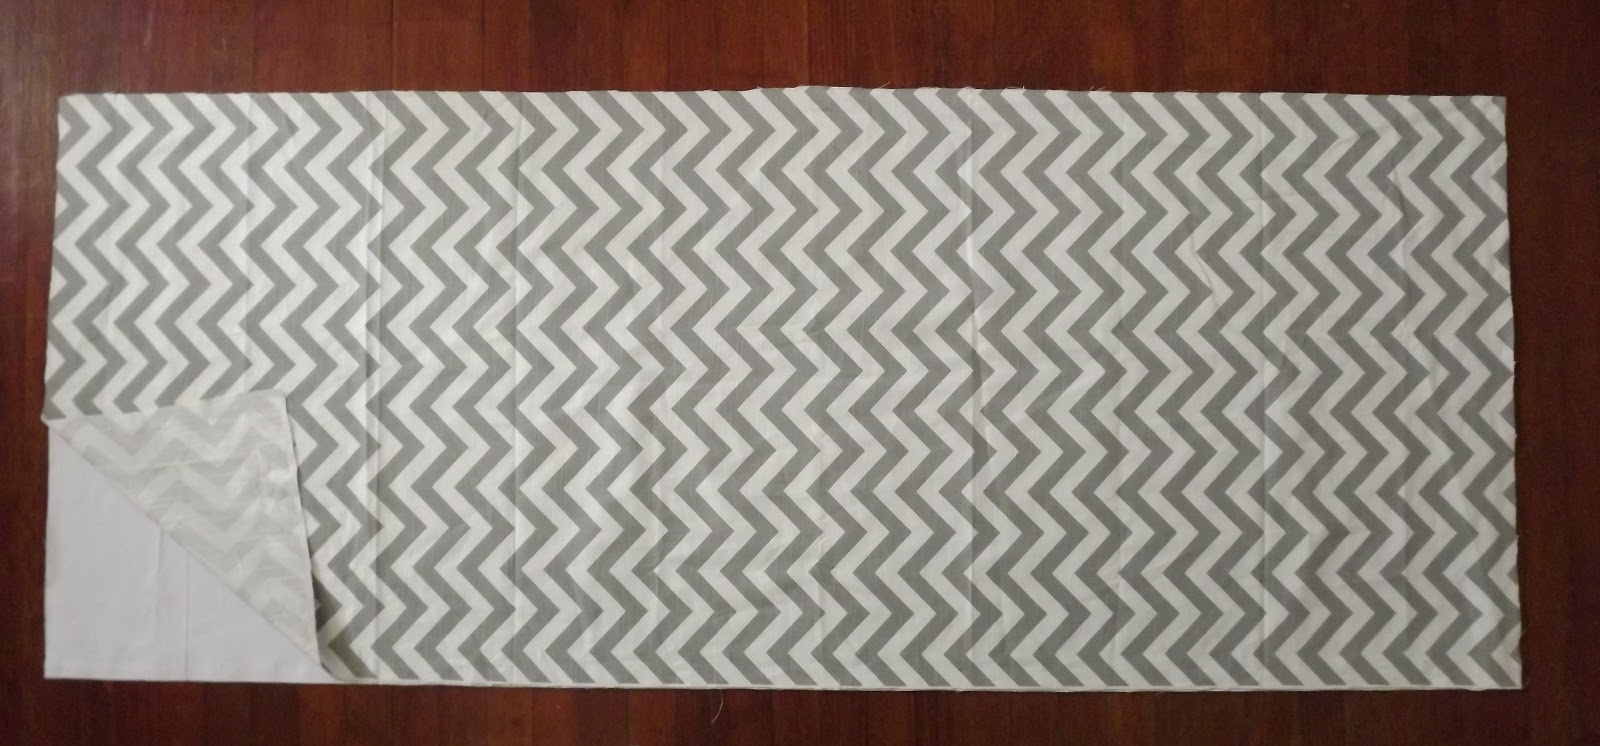
so i kind of felt like my kitchen needed a bit of a makeover. for being a mostly white kitchen, it felt a little dark and drab. i have been drooling over everything chevron lately, so i decided the pattern would be great for that space. so i went over to etsy to find some fabric...and just out of curiosity i looked up 'chevron curtains' to see how much people were charging..turns out they are running on average about $150 for 2 panels! Ouch! where i support people wanting to make a living, curtains are just not that hard to make and i am not even near being a professional sewer...all that to say, if i can do it--you definitely can! so i checked out some fabric prices and ended up ordering 3 yards of premier prints grey ash and white from everydaychic for $9.50/yd. then i went to our local discount fabric store and bought some white sunbrella fabric to back it with because of how much sun our kitchen gets in the afternoon (the backs of my previous curtains--see below--faded so quickly). that fabric cost me $6.00. after that i came home and got to work.

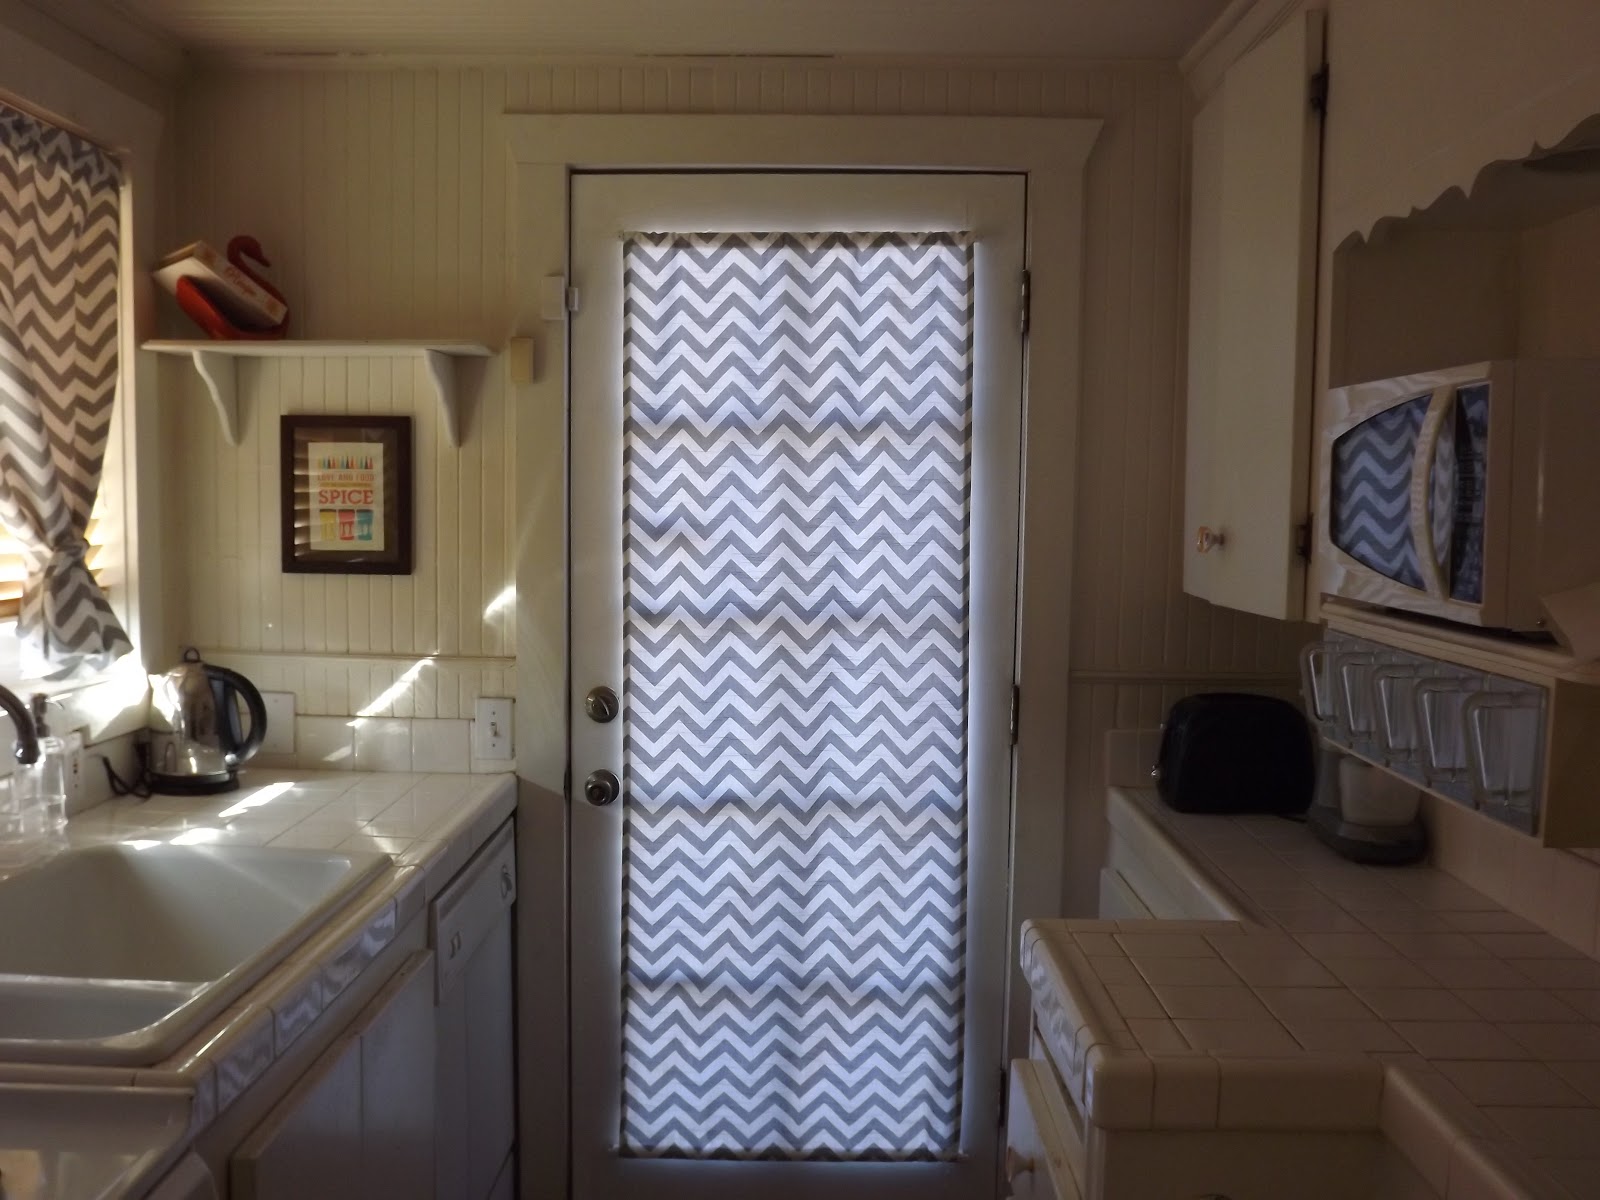
this panel is for our door which goes out to our backyard.
i cut out my fabric with 1/2 in seam allowance and 1 1/2 in for the top and bottom
 fold-over where the rods will go.
i also did the same for 2 smaller panels to go over our longer window that is above the sink.

next, i ironed and hemmed the edges.
then, i sewed the 2 fold-over areas on the top and bottom of the door panel with just one line

for the 2 smaller panels, i wanted a little ruffle at the top so i
accomplished this by sewing one line at the top about 1 1/2 in. or so wide
and then another line about an inch below that. so the rod will go in between
those 2 lines i just sewed.

finally, i cut out 2 strips to work as ties for the 2 smaller panels, folded them in
 half (right sides together), sewed the fold together and turned it right-side-out. then just closed
up the ends.

i got some help with the measurements from this little one!

So here is the before and after!!!

before:

(i added this photo to show where the paint had come off on our door. before
making the curtains, i took some white paint and repainted the whole door..
it is so amazing what a little paint can do!)


after!!!!!


honestly, it may sound silly, but i am so much happier every time i walk into our kitchen. its cleaner and brighter--those things (in my opinion) are the way a kitchen should be and feel! and if you aren't convinced yet---i only spent around $40 total! not to mention i get the bragging rights of being able to say that i made them
;-)