so i kind of felt like my kitchen needed a bit of a makeover. for being a mostly white kitchen, it felt a little dark and drab. i have been drooling over everything chevron lately, so i decided the pattern would be great for that space. so i went over to etsy to find some fabric...and just out of curiosity i looked up 'chevron curtains' to see how much people were charging..turns out they are running on average about $150 for 2 panels! Ouch! where i support people wanting to make a living, curtains are just not that hard to make and i am not even near being a professional sewer...all that to say, if i can do it--you definitely can! so i checked out some fabric prices and ended up ordering 3 yards of premier prints grey ash and white from everydaychic for $9.50/yd. then i went to our local discount fabric store and bought some white sunbrella fabric to back it with because of how much sun our kitchen gets in the afternoon (the backs of my previous curtains--see below--faded so quickly). that fabric cost me $6.00. after that i came home and got to work.
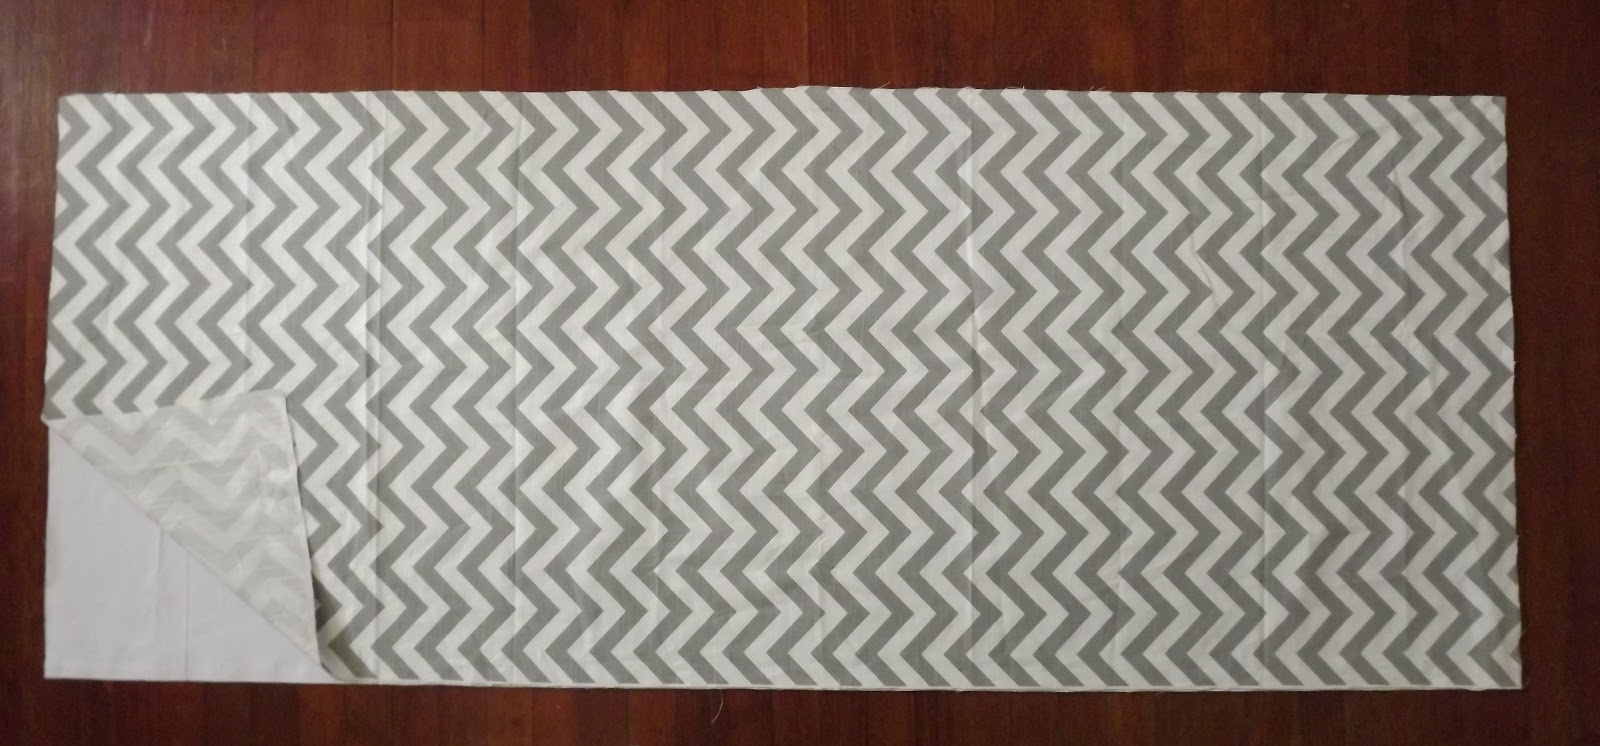 |
| this panel is for our door which goes out to our backyard. i cut out my fabric with 1/2 in seam allowance and 1 1/2 in for the top and bottom fold-over where the rods will go. i also did the same for 2 smaller panels to go over our longer window that is above the sink. |
 |
| next, i ironed and hemmed the edges. then, i sewed the 2 fold-over areas on the top and bottom of the door panel with just one line |
 |
| for the 2 smaller panels, i wanted a little ruffle at the top so i accomplished this by sewing one line at the top about 1 1/2 in. or so wide and then another line about an inch below that. so the rod will go in between those 2 lines i just sewed. |
 |
| finally, i cut out 2 strips to work as ties for the 2 smaller panels, folded them in half (right sides together), sewed the fold together and turned it right-side-out. then just closed up the ends. |
 |
| i got some help with the measurements from this little one! |
So here is the before and after!!!
before:

 |
| (i added this photo to show where the paint had come off on our door. before making the curtains, i took some white paint and repainted the whole door.. it is so amazing what a little paint can do!) |

after!!!!!
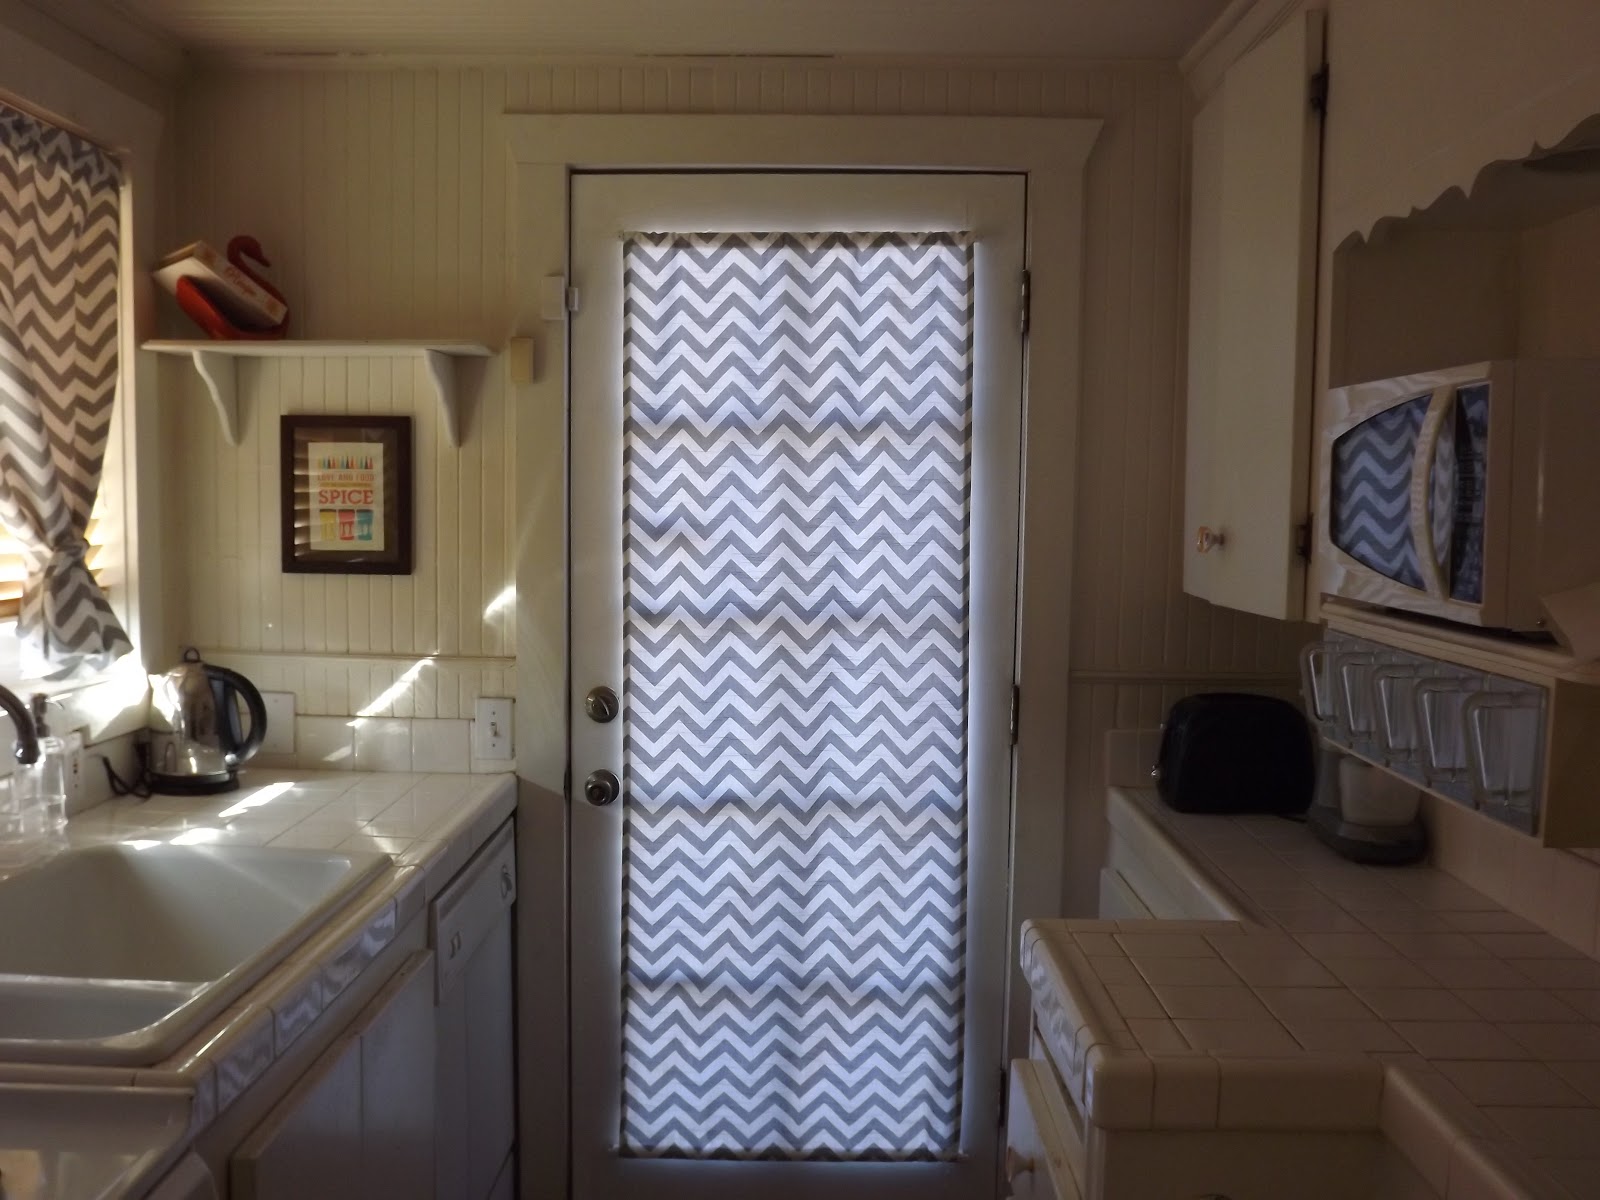


honestly, it may sound silly, but i am so much happier every time i walk into our kitchen. its cleaner and brighter--those things (in my opinion) are the way a kitchen should be and feel! and if you aren't convinced yet---i only spent around $40 total! not to mention i get the bragging rights of being able to say that i made them
;-)
Huge fan of the curtains Shells!!! Way to go "Sally Sewing Homemaker!"
ReplyDelete